Gallery Settings
Gallery settings allow admins to customize the gallery page and set permissions. To access Gallery Settings page:
-
Go to Gallery from the dashboard.
-
On the top-right corner, click Settings.

Permissions Tab
This allows admins to set permissions for who can manage the Gallery as well as who can see insights in Gallery.
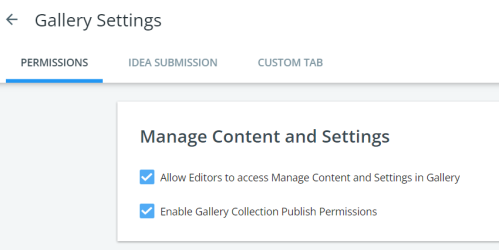
Manage Content and Settings
Select the applicable checkboxes:
-
Allow Editors to access Manage Content and Settings in Gallery
By default admins will be the only user type who can manage the Gallery. This includes creating collections and adjusting their settings, organizing content into collections, and more. If you'd like editors to also be able to manage the gallery, you will check the box in this section
-
Enable Gallery Collection Publish Permissions
Enabling this setting will display Publish Permissions setting in Collection settings page.

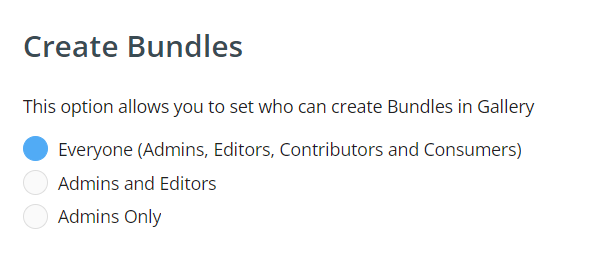
Create Bundles
Admins can set who can create Bundles in Gallery using this setting.
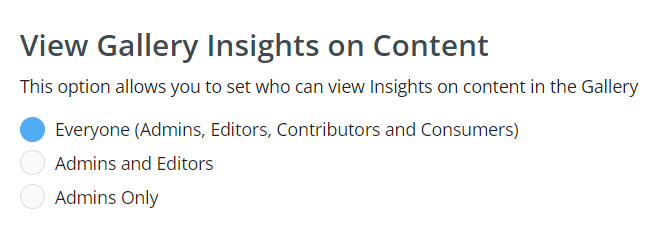
View Gallery Insights on Content
By default, Gallery users will not see any insights information. These insights can help your Gallery users understand what is resonating with their contacts. To enable this feature for admins, admins and editors, or everyone choose the appropriate setting.
These insights appear as a tab on your content in Gallery. See below for a preview of what Gallery insights look like.
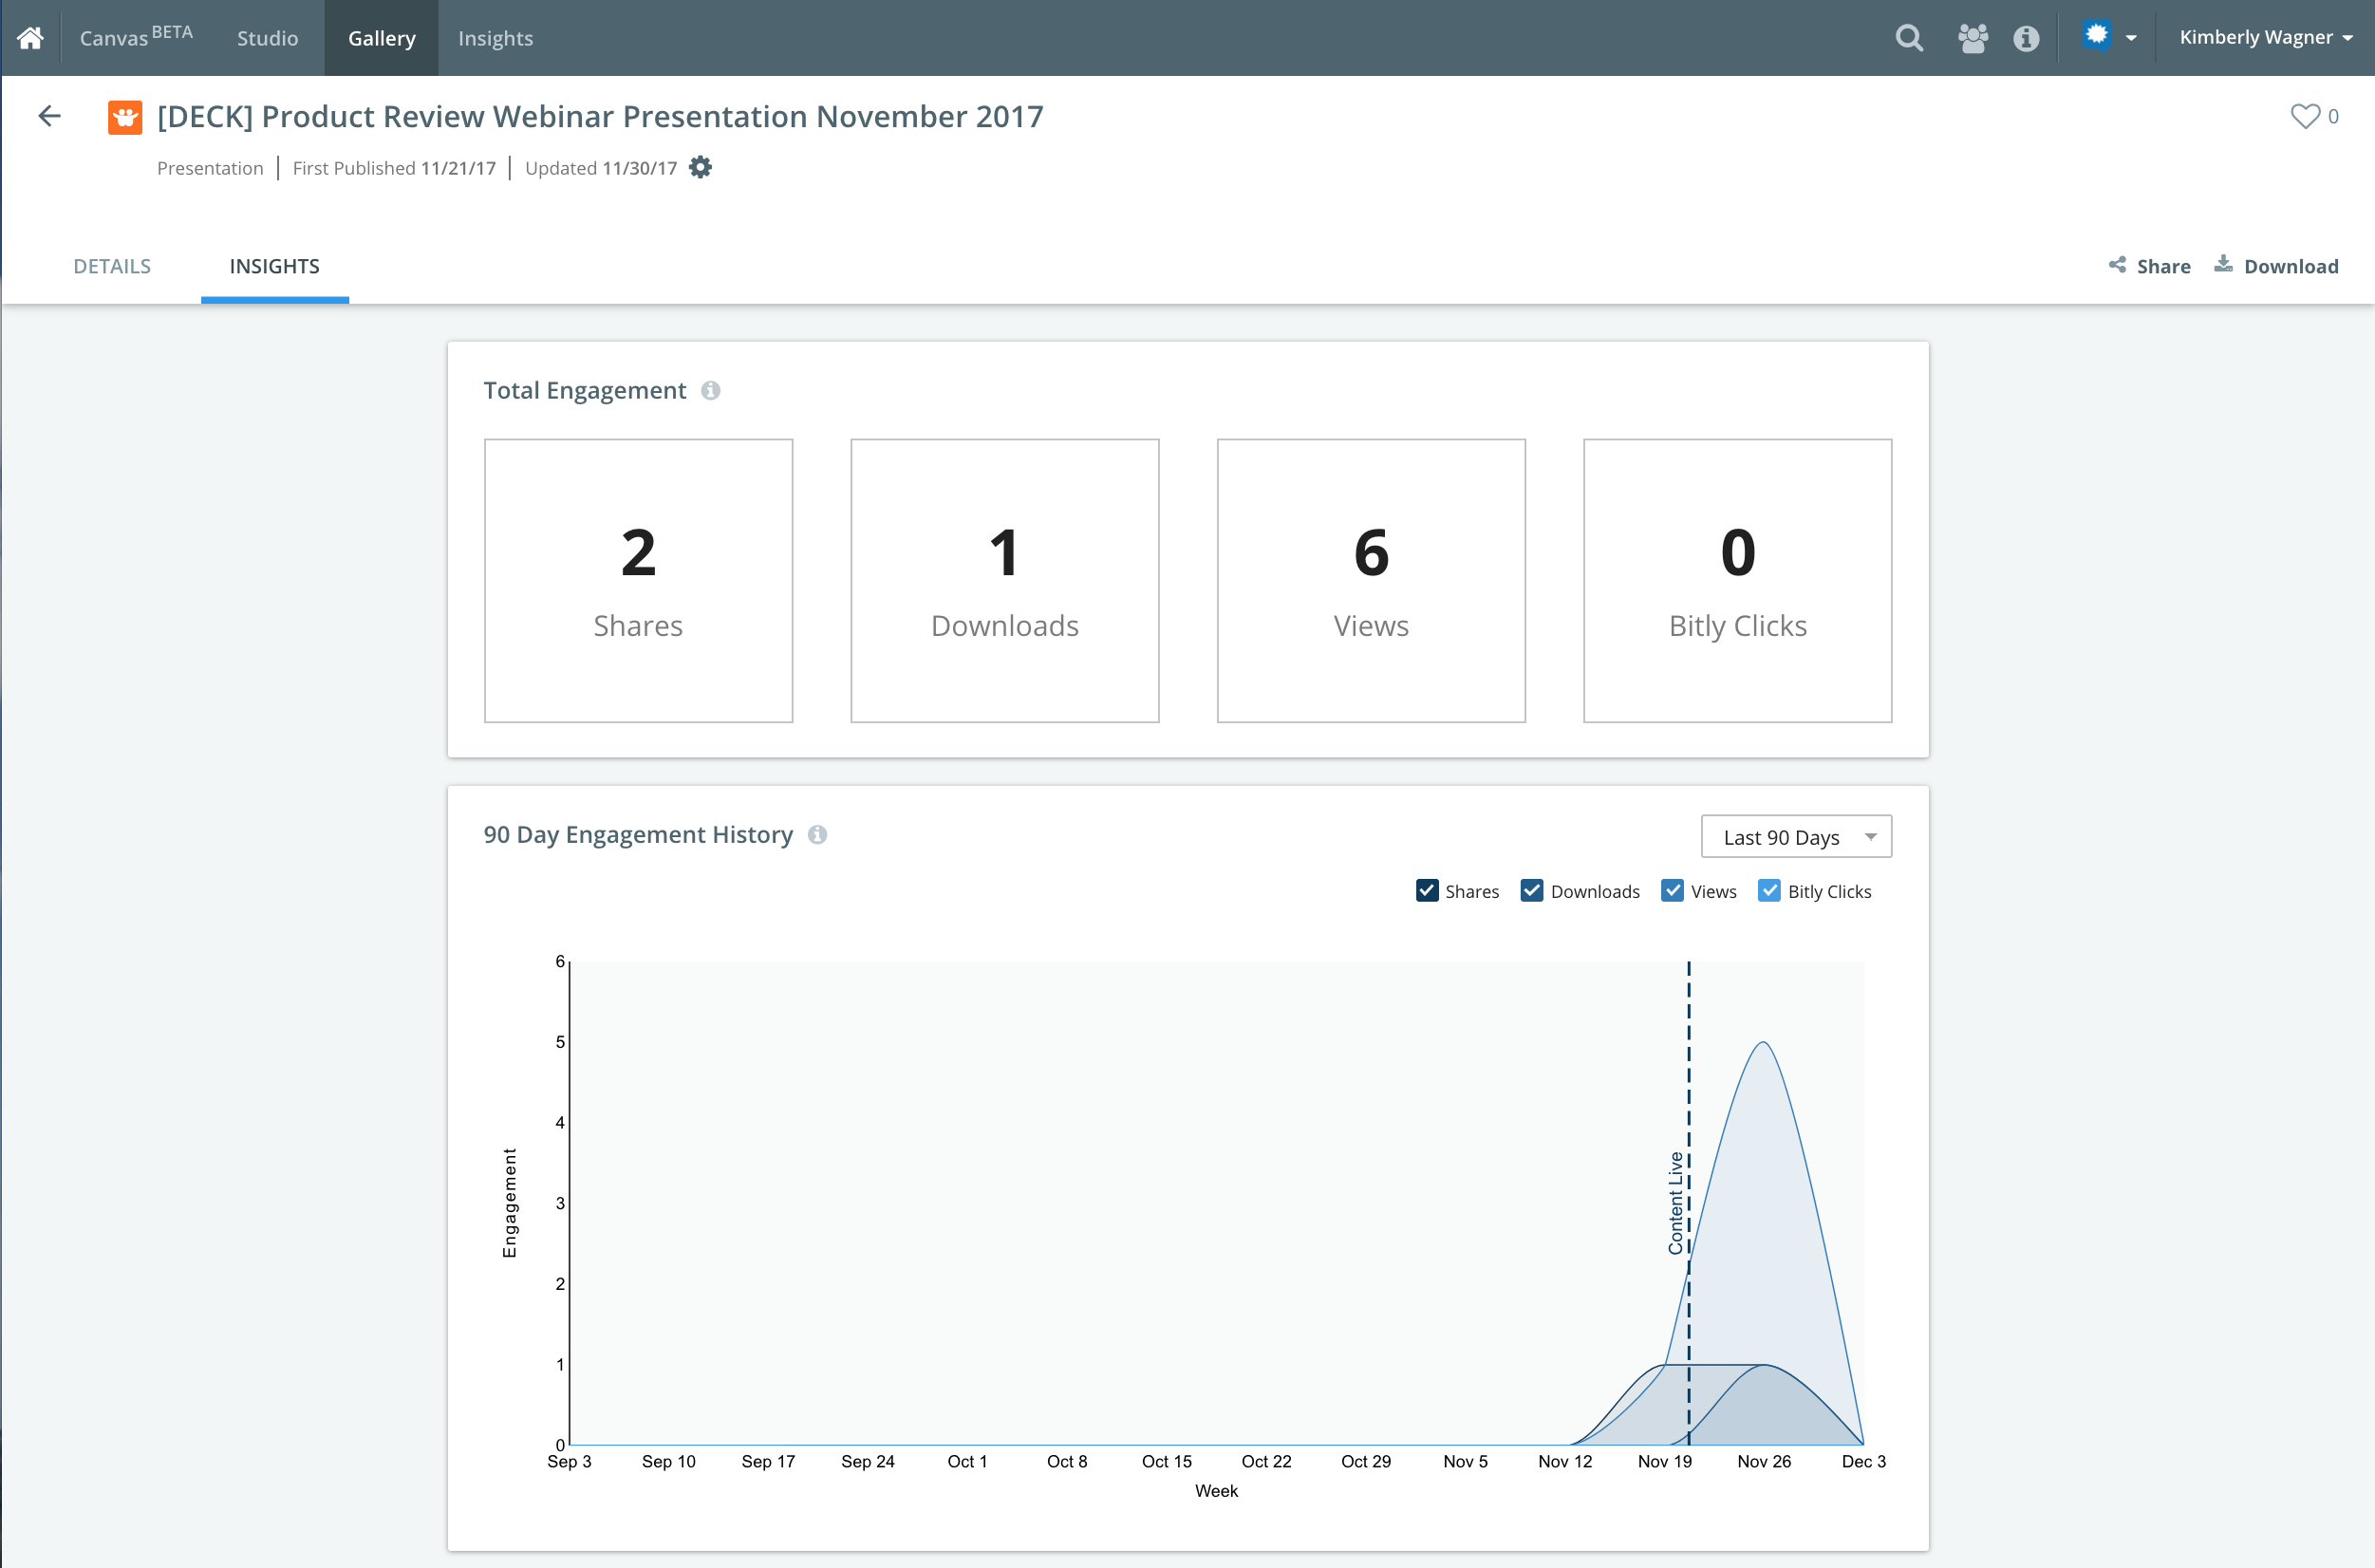
To see what users can see using this feature, refer to Insights In Gallery.
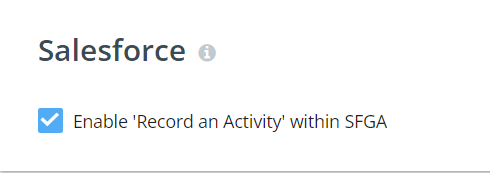
Salesforce
When Record an Activity is enabled in your Salesforce Gallery App, users will be asked to record an activity task upon sharing content. This records the data within Salesforce. If this setting is disabled, no data about the specific share will be recorded in Salesforce and no data will appear within Activity History. Whether this setting is enabled or disabled, the "Gallery Share" stat will still be captured upon interacting with our share capabilities.
Idea Submission
The Gallery Idea Submission feature allows Gallery users to easily submit content ideas from the Gallery. This gives users a structured way to submit ideas for needed content based on their observations. They can be confident that their idea is going directly to the people responsible for planning, creating and distributing their content. This feature gives Gallery users and Studio users a way to communicate.
Note: Users must have a Kapost login/membership to access this feature. For instructions on how a user would submit a content idea click here.
Idea submission is the first tab in the settings section. You will first need to decide if you want to set up Quick Submission or Crowdsource Form/Content Type. Follow the appropriate instructions to set up the type of submission you decide is appropriate.
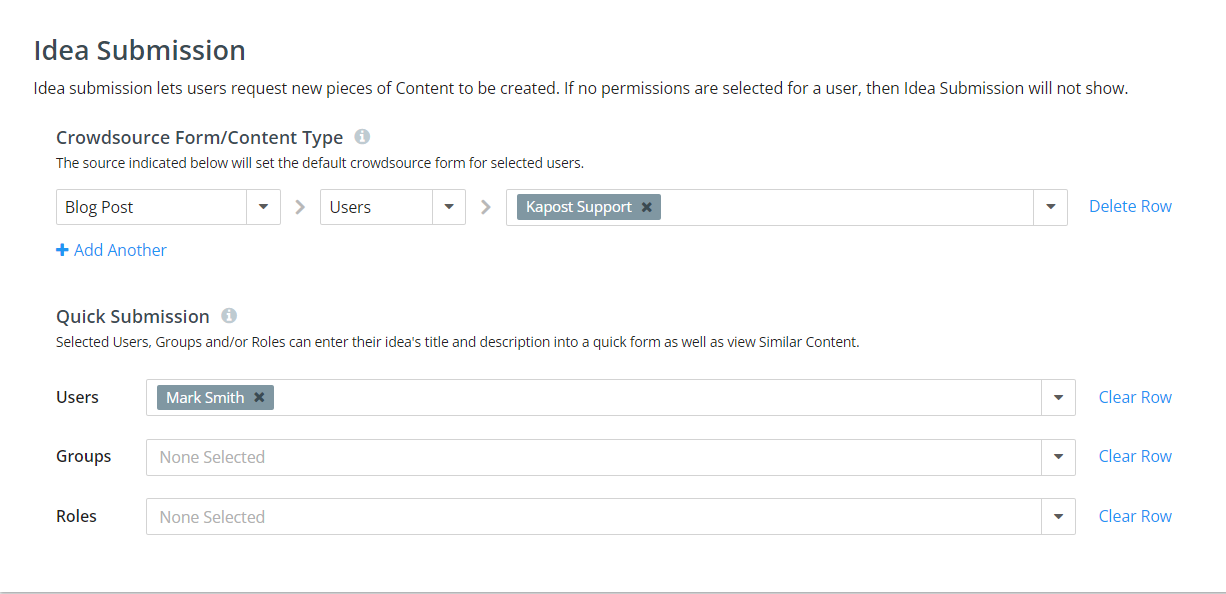
Crowdsource Form/Content Type
- Choose the Crowdsource Form/Content Type you want to set up permissions for in the Crowdsource Form section of the settings page.
- Then choose the appropriate type of audience that should see that Content Type/Crowdsource Form as their default. Options include:
- Groups: Groups are previously defined in the "members" tool. Learn more about creating Groups here.
- Roles: Kapost user Roles include Admins, Editors, Contributors and Consumers users.
- Users: Specific users can be named.
- Choose the appropriate Users/Groups/Member roles.
- Click on Add Another and repeat steps 4-6 to add additional Content Types/Crowdsource forms with different permissions.
Quick Submission
- Go to the Quick Submission Section of the settings.
- Choose which Users, Groups, or Roles you want to make the quick submission form available to. Options include:
- Groups: Groups are previously defined in the "members" tool. Learn more about creating Groups here.
- Roles: Kapost user Roles include Admins, Editors, Contributors, and Consumers users.
- Users: Specific users can be named.
Users not identified within any category will not see the Add New Content Idea button.
Quick Submission vs. Crowdsource Form/Content Type
There are two types of idea settings - Quick Submission and Crowdsource Form/Content Type.
- Quick Submission Idea Settings: When a user clicks Add New Content Idea, they will be brought to a pop up window to add the topic and idea description. Once submitted, that idea will flow directly into the Kapost Studio idea catalog where it can be rejected or approved and turned into a content asset that can be added to the Gallery.
- Crowdsource Form/Content Type Idea Settings: When a user clicks Add New Content Idea, they will be brought to the Content Type/Crowdsource Form you have configured for them. That idea will flow directly into the Kapost Studio idea catalog where it can be rejected or approved and turned into a content asset that can be added to the Gallery. Instructions for configuring Crowdsource Form/Content Type Idea Submission are above.
Custom Tab
You can now direct Kapost users to a specific collection or a collection group in Gallery. This enhancement streamlines the user experience by landing the user on a specific collection of content or a group of collections rather than a generic Gallery page.
To enable the custom tab, turn on the Custom Tab toggle button.
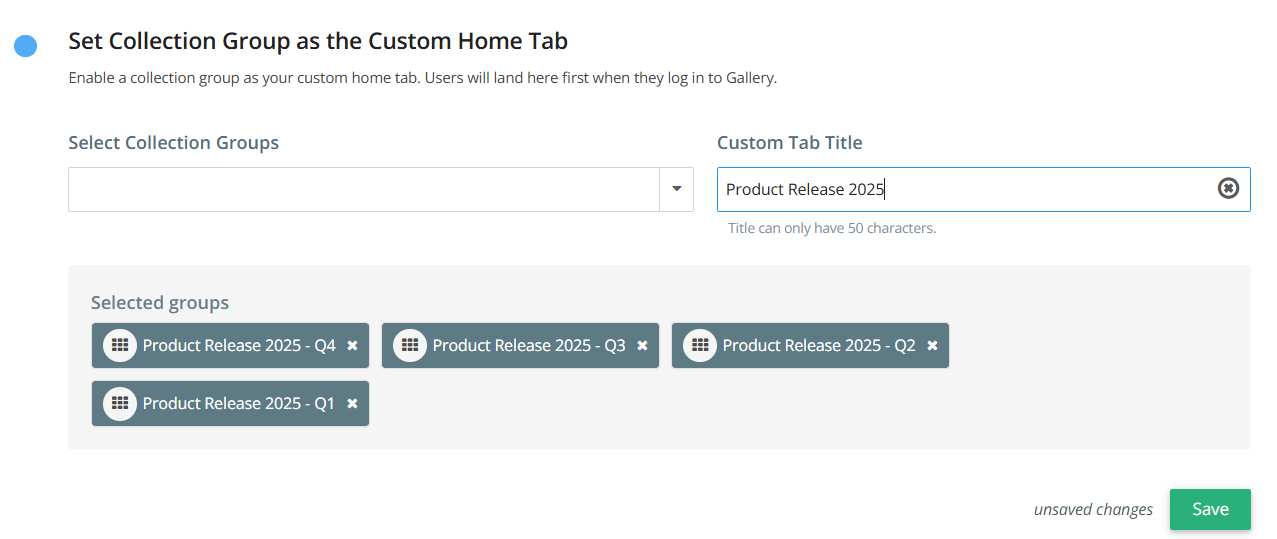
Set Collection Group as Custom Tab
Admin users can enable the feature and select one or more collection group(s) to display as a custom tab.
-
Select Set Collection Group as the Custom Home Tab to activate the setting.
-
Click Select Collection Groups drop-down menu and select one or more collection group(s) that you want to display on the Gallery custom tab.
Tip: Click Select All to select all the collection groups, and click Clear All to remove the selection.
-
In the Custom Tab Title field, enter a unique name for the custom tab. This field must not exceed 50 characters.
-
Click Save. This button is enabled only when both fields are filled in.
Note:
-
When a user selects a collection group from the custom tab, the collections within that group are displayed according to the User Permissions settings. Users can view the collections but cannot make any changes. Admins and editors with access can add or remove collections from the group through the Manage Content page.
-
If you delete a collection group, it will be automatically removed from the custom tab and its settings.
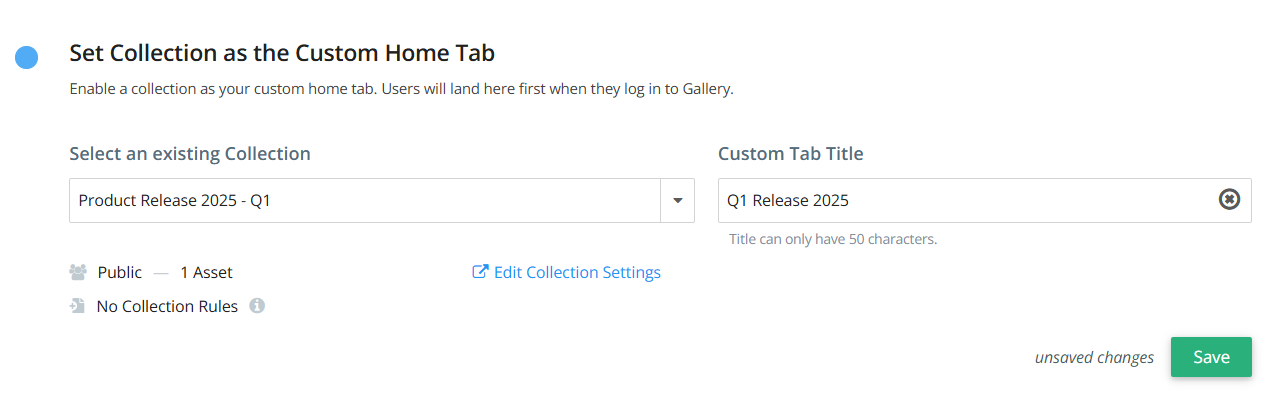
Set Collection as Custom Tab
Admin users can activate the feature and apply specific rules to determine what content is added to a collection. When a collection is selected, the existing user permissions and collection rules are displayed, allowing users to decide whether to update the settings.
-
Select Set Collection as the Custom Home Tab to activate the setting.
-
Click Select an Existing Collection drop-down menu and select a collection that you want to display on the Gallery custom tab.
Tip: If you do not have access to the collection, the custom tab will not be displayed for you. To change the settings of the selected collection, click Edit Collection Settings.
-
In the Custom Tab Title field, enter a unique name for the custom tab. This field must not exceed 50 characters.
-
The Clear option allows user to clear the selected collection.
-
Click Save. This button is enabled only when both fields are filled in.
Note: Once a Custom Tab is set up, members cannot delete the collection. Admins would have to set the collection to a new tab to be able to delete it. If you disable the Gallery Custom Tab, the collection can be deleted.
Once the collection or collection group is selected, the gallery will display the custom tab on the gallery landing page as shown below:

